Create Your First Drop
A “drop” is a batch of items the Sales Assistant posts to Instagram and runs for you. Here’s how to create your first one — from photos to posted.
- Click Create a Drop, confirm your settings, and upload your photos.
- Upload PNGs or JPEGs (not HEIC), and upload photos in the order you shot them, so each item’s photos stay together.
- Review and edit, then post now, schedule it, or save as a draft.
Prefer to watch? Here’s a quick video walkthrough of creating your first drop.
Step 1: Click Create a Drop
From your Sales Assistant Dashboard, click Create a Drop to start.
Step 2: Confirm your drop settings
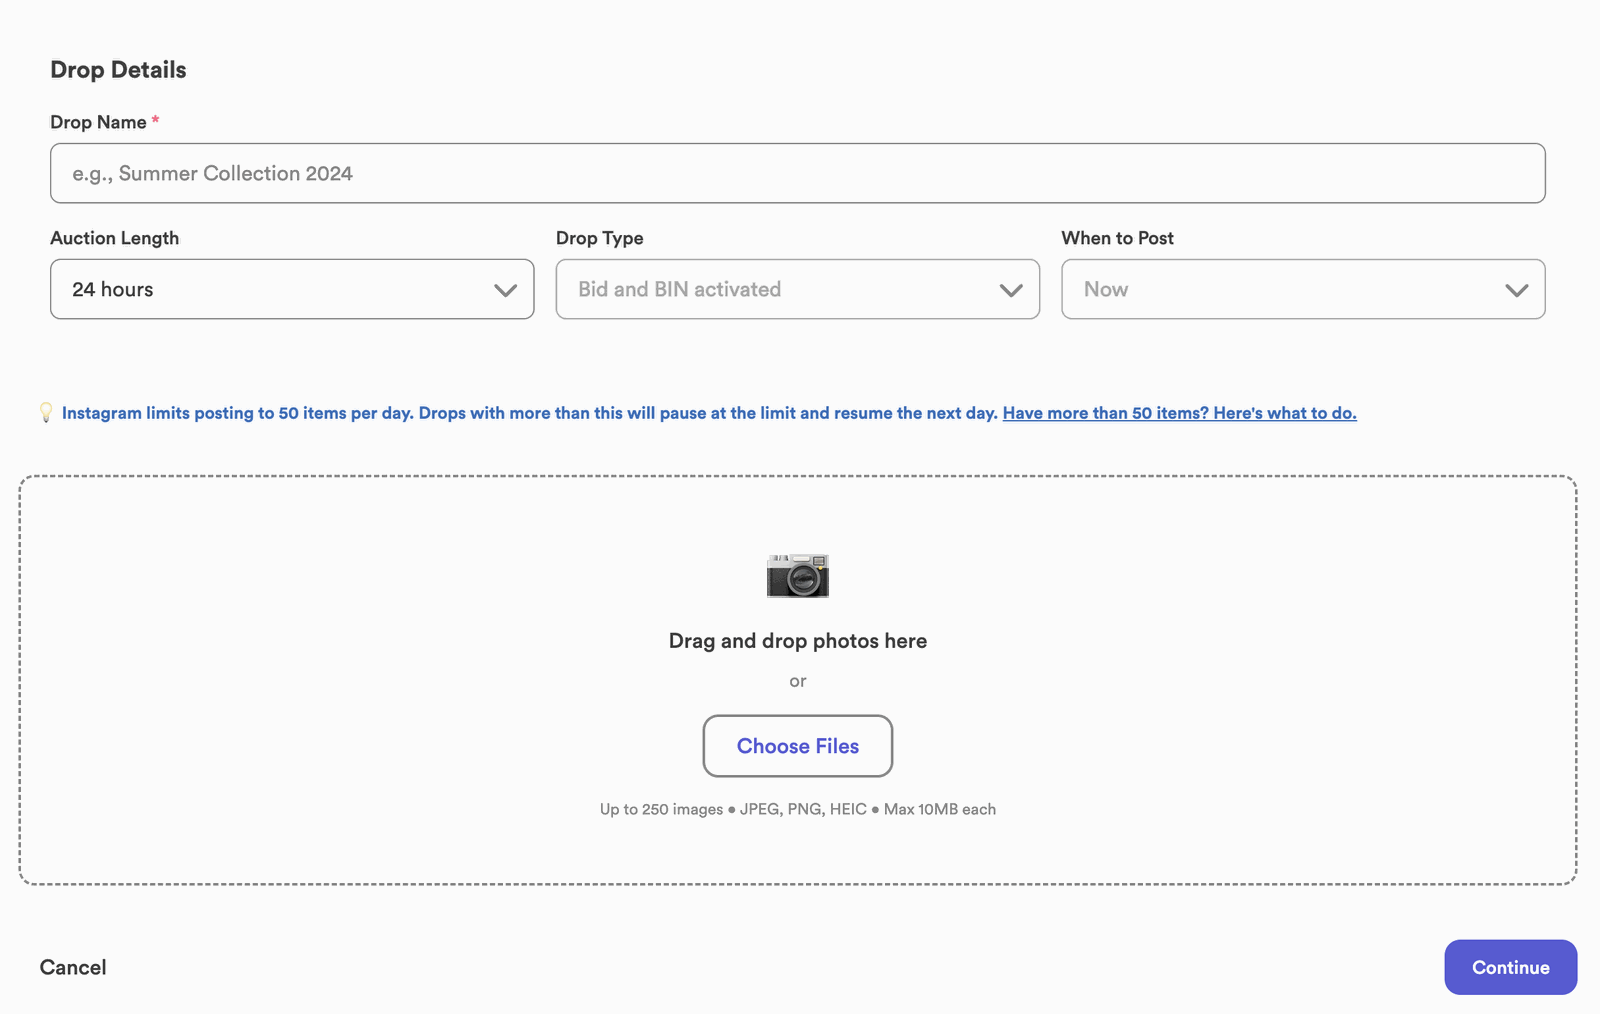
Your default settings (from Setup) are pre-filled — bidding on or off, auction length (6, 12, or 24 hours), and whether Buy It Now is enabled. Adjust them for this drop if you like, then continue.
Step 3: Upload your photos
Add the photos for every item in your drop. Two things make this go smoothly:
Step 4: Review and edit
Before posting, you can fine-tune the whole drop — reorder photos, change the posting order, edit the captions, and set each item’s price. See How Captioning Works for the details.
Step 5: Post now, schedule it, or save as a draft
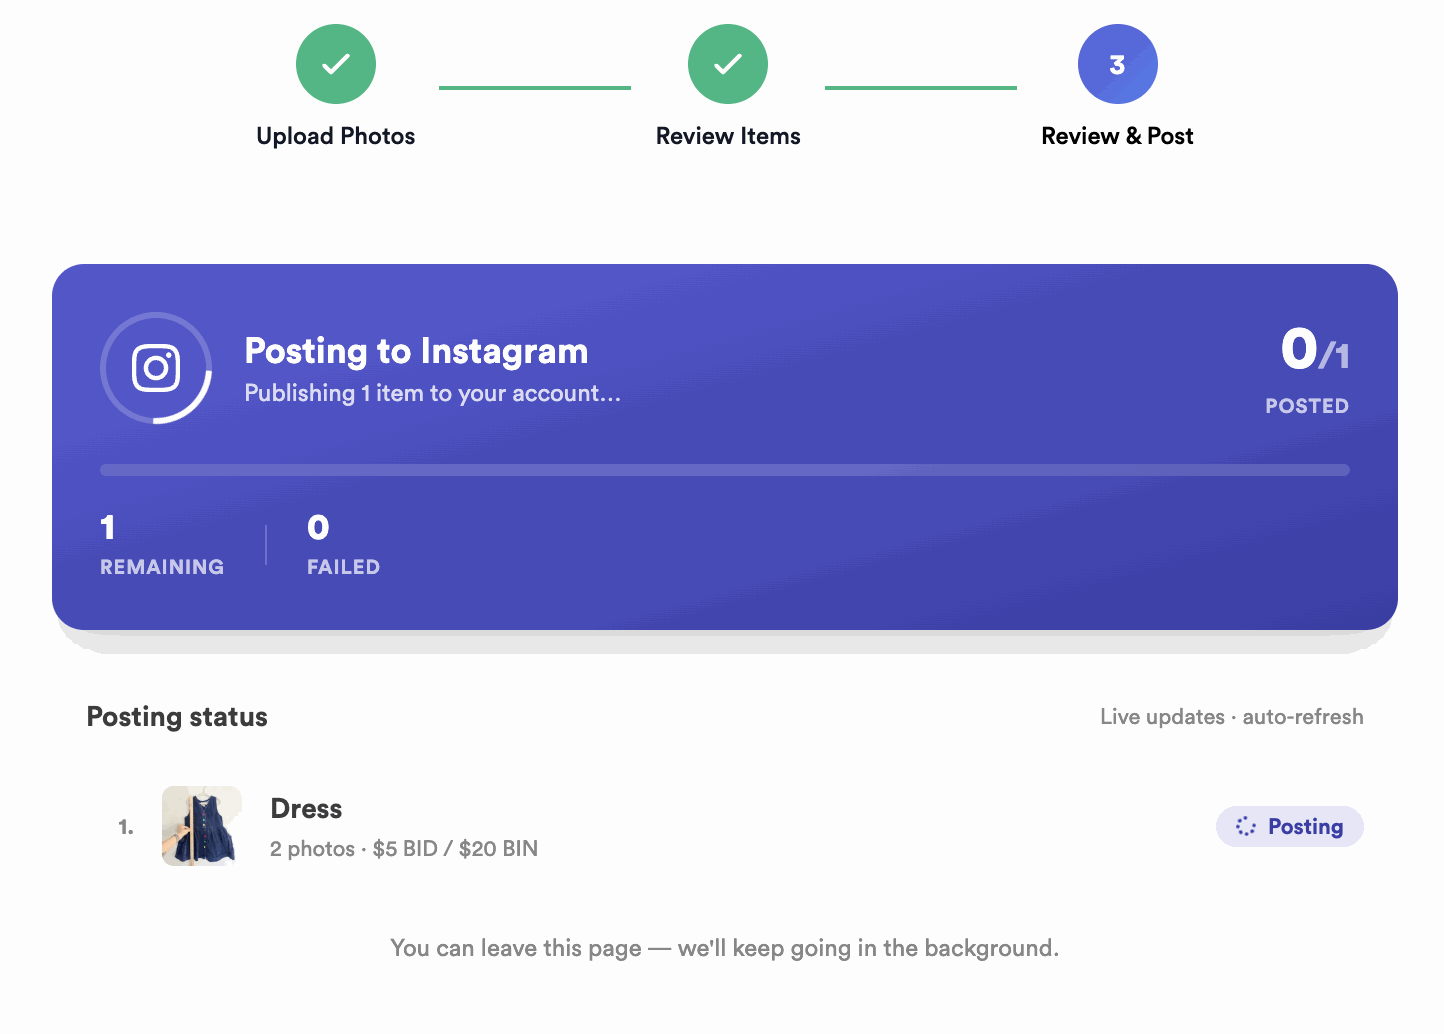
When everything looks right, post the drop now, schedule it for later, or keep it as a draft to finish another time. Once it’s live, the Sales Assistant posts each item to Instagram and starts watching the comments.
What happens after you post
From here it runs on its own. The Sales Assistant watches your comments and responds using the rules you set — recognizing bids, BINs, and “sold” claims and replying automatically. It’s automation, not a chatbot: it follows your settings exactly, it doesn’t improvise.
When the drop ends, each winner is sent a DM with a checkout link to pay, and once you buy their label they get tracking updates automatically.
Want to see exactly what that looks like? See How Comments Work and How Checkout Works.
Common questions
Why shouldn’t I upload HEIC files?
HEIC (the default iPhone format) doesn’t upload reliably. Use PNG or JPEG so every photo comes through.
Does photo order matter?
Yes — each item becomes its own post, and photos are grouped in upload order. Keep each item’s photos together so they land on the right post.
Can I save a drop and post later?
Yes — save it as a draft and post whenever you’re ready.
Ready? Head to your dashboard and create your first drop — reach out if you get stuck.